Meat Garment

Tuesday 9th May

Now that the catwalk had been complete, I could focus on finishing the garment that was designed to represent the final industry: meat. to represent meat. The legs had been finished but they needed attaching to the strips which would enable the garment to be attachable to the manikin.

To attach the strips to the latex, I used a needle and thread and hand stitched them together. This was time consuming, but was the most effective way of attaching them together, as glue would be unreliable and would possibly come away with the large amount of movement in the garment.

Projection Experimentation

Monday 8th May

With the pressure away which was caused by the festival of making, I was able to spend time in the photography suit, exploring projection which I had initially wanted to test.

First of all, I experimented with the leg joint I had produced. By hanging this with a meat hook, I was able to create the eerie atmosphere behind the design of the leg. Using a high power projector, it projected a high quality image on the object, which enabled me to focus in and out using the lens. The images I chose to project where the mood boards I had initially produces at the start of the project. The darkness of some of the photos and the boldness of the typography enabled the text to stand out on the skin of the leg. Some of the images I explored where too dark and didn’t work as successfully.

Unedited

Edited

Once I had explored imagery on the leg, I then went onto explore the meat scans that I had previously collected and projected them onto the meat paper cut out I had previously designed and created.

Overall I feel the projections where successful, however I would have to look further into how I could position the object in front of the lens without catching the surrounding outline of the laptop tab, as this takes away the atmosphere created by the work.

Unedited

Edited

DSC_0258

I feel that if I had more time to explore the route of projection I would like to develop a short video clip of the clothing I am producing and all the campaigns being held that I have researched. I believe that that would be something that would take a lot of time and tweaking in order to make perfect. It would also require help from other students who are confident in the field of media, in order for me to successfully produce something.


Symbolic Objects

Thursday 4th – Friday 5th May

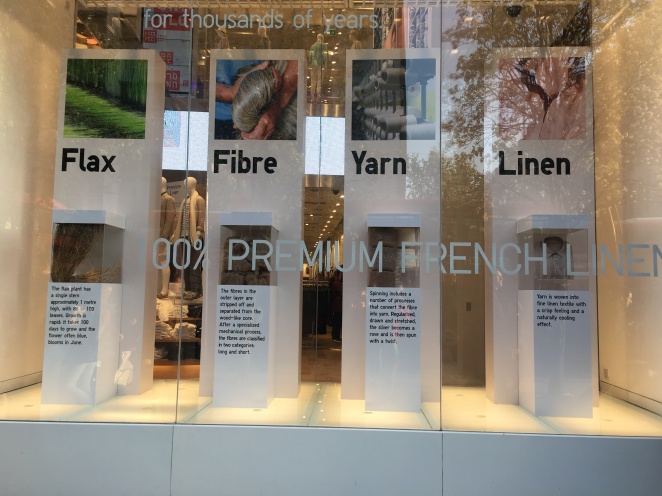
Inspired by the Uniqlo window display on Oxford street, I wanted to show the product that comes from each of the industry’s in the way that Uniqlo show the process of linen being manufactured throughout the use of the materials.

Therefore, selecting the different objects was the most challenging part, as I felt that they needed to stand out as being the product of the related garment rather than the garments being seen as a collection. As a result, the objects that I selected where a cast of a roast chicken, jar filled with sheep wool and dog fur, and finally milk bottles filled with a milk like substance.
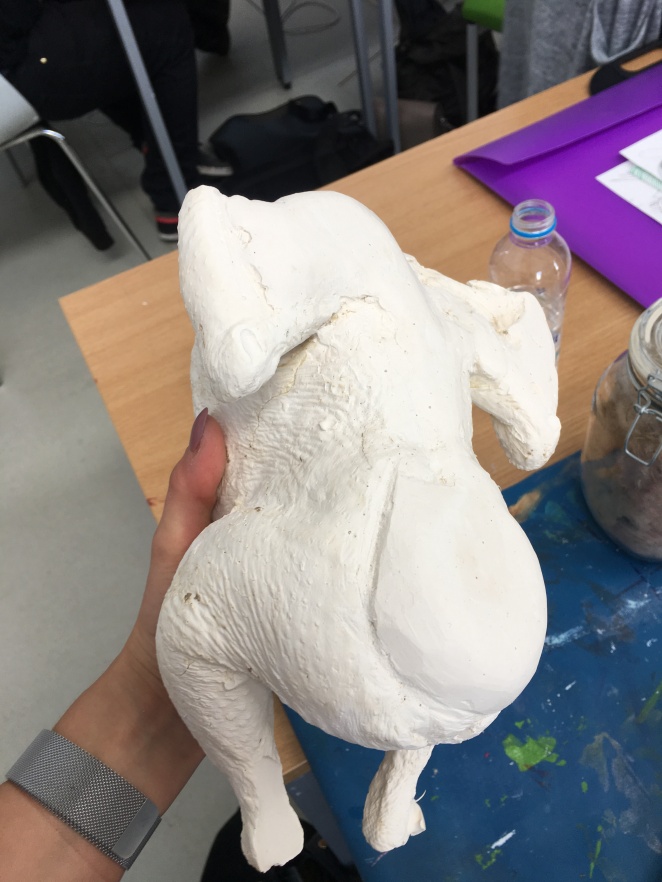
IMG_7253

Chicken Cast

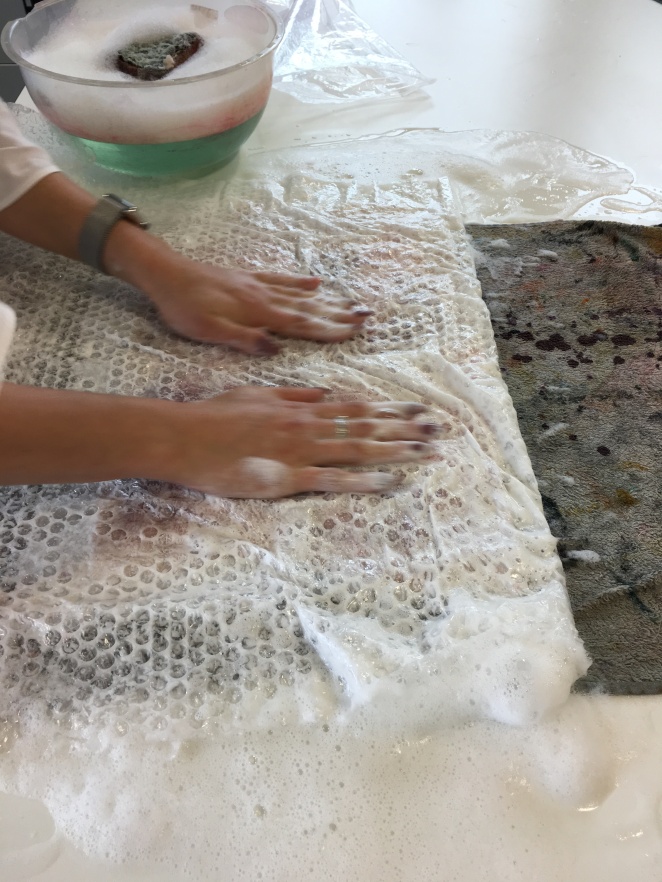
On my way to college I went to the local Lidl shop where I purchased the chicken. In order to cast this successfully, I needed to stitch up the hole in the chicken where the insides of the chicken where removed. Once that was carefully done, the chicken was placed inside a tub where we then left the chicken as we created the alginate. As we pored the alginate over the chicken, we had to ensure that the chicken was completely covered throughout the process. After leaving the alginate to set, we then removed the chicken from the mould carefully, without breaking the alginate.

Now that we had the mould we were able to mix the plaster before pouring it into the alginate. After tapping the surface to remove any air bubbles, we left the cast until it became solidified. This would take around 20 – 30 minutes.

Once it had set the solid chicken was then removed from the alginate. This was then left until it had cooled down before I then cleaned up the cast, filed the rough edges and painted the surface using a mixture of white acrylic and PVA glue to remove the matt finish.
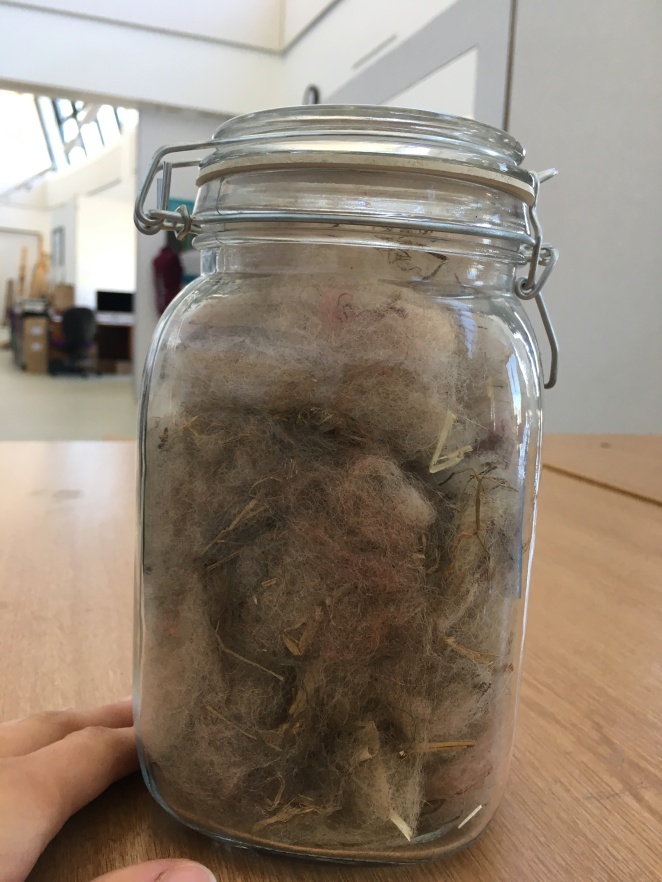
IMG_7906

Fur Jar

Whilst the plaster chicken was solidifying, I was able to nip to the shop to purchase a jar. The jar that I selected has a sealed lid. I chose this because the sheep’s fur that I would be filling the jar with smelt, as it came straight from the sheep’s body. Therefore, this would also keep any insects and dirt locked away from the surroundings.
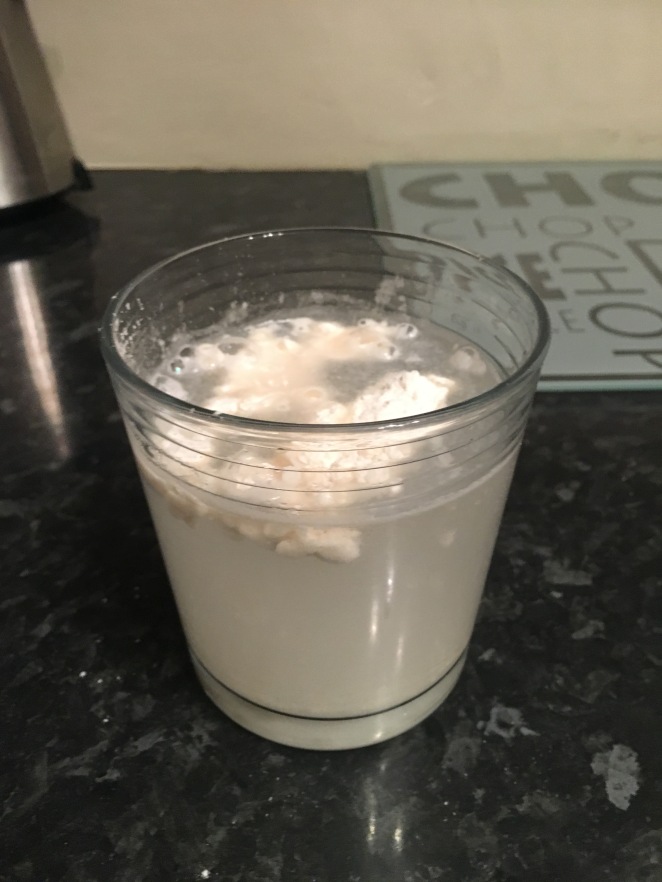
IMG_7860

Milk Bottles

On my way home, I stopped by my Uncle’s Ken’s farm and my Dad’s house where I was able to collect empty milk bottles which were no longer in use. This would then be filled with a milk like substance closer to the time of the exhibition. This will reduce the chances of the liquid being spilt.


Radio Interview

Tuesday 2nd May


As a result of the event taking place on the 6th May we were called to a radio interview to talk about the work that we would be showcasing the event looking at what it was that we have been inspired by throughout each of our individual projects. This experience was challenging, as we were put on the spot and asked numerous amounts of questions. However, it gave us a new experience allowing us to see how interviews work in real life.

http://www.bbc.co.uk/programmes/p050fdd4

2:22 – 2:27

Screen Shot 2017-05-30 at 23.50.53

Embellishing

Wednesday 26th  – Thursday 27th  April

Now that the cloak had been pinned together, it has to be embellished into place. This would finalise the garment and allow it to keep its structure. Therefore, this was the task I had to complete within the next two days. In order to ensure that the garment was completely fixed together, I started from the bottom and worked by way up.

Throughout the process the embellishing became easier, however, around the neckline the pieces become rather heavy and thick. Therefore, this became a struggle when embellishing, causing a needle to snap. However, after fixing in a new needle, I continued the process taking extra care on areas where the thickness was much larger than others.

The final outcome of the garment was impressive, showing the inside of the garment through the twisting and folding of the embellished pieces and the drape of the garment itself. Overall I feel that this is one of the strongest pieces I have made.

Finished Garment

IMG_7823IMG_7821IMG_7819IMG_7825


Production – Felt Cloak

Monday 10th April

More Felting

Continuing with the process of felting I successfully managed to produce more sheets in a shorter amount of time because I used hotter water. Therefore, as I continue to carry this out, I will ensure that the water is at the highest temperature, as this does show an improvement in the time it takes me to produce one. This knowledge will enable me to be able to produce more felt sheets in a shorter amount of time, speeding up the process, allowing me to plan on moving onto construction much earlier.

IMG_7395

Milk Experiment 1

Tuesday 4th April

Milk experiment 1

Looking at the dairy industry I wanted to use the materials that would be the biggest representation of the industry. Therefore, I wanted to look into trapping liquid into sachets. Therefore, in order to find the most suitable method and liquid to put into the sachets, I started an experiment to work out the best for the garment.

First I tried to see how I would get the liquid into a sachet. Gathering a large number of plastic cd wallets, I filled it with water. After leaving this for only a few seconds, the bag started to leak. As a result, I then tried melting the seams using grease proof paper and an iron. I did this on three sides leaving one to fill with liquid. Once sealed, I left this for half a day and there had been no change in the sachet. Showing that the method could potentially be the most successful.

Now that I had my method of inserting the liquid, I now had to find the most milk like substance. I first tried protein dyes. This was very successful and suitable consistency for milk. However, protein dyes don’t come in white. Next I tried using PVA glue and white acrylic. This was too thick and dried within 4 hours and therefore was not suitable for what I wanted to achieve.

IMG_7378IMG_7373IMG_7376IMG_7375IMG_7374

From these results, I felt that I needed to look into finding a watered down version of the acrylic and PVA solution, but ones that would not dry over time. Therefore looking into materials that I could add to water I felt was my next step.

Library Research

Tuesday 4th April

Taking time to look further into my project, I decided to take some book out of the library to see if there was any research there that could help with the development of my current work.

With Vivienne Westwood being one of the fashion designers I initially looked at at the start of the project during my pitch, I decided to take out a copy of her book to see if there was anything within there that I would be able to take on board.

However the most striking book that caught my eye was “Looking at Vegetarianism”. This was a book that covered all aspects of reasons as to why people turn to vegetarian and adapt to the rules behind the culture. Therefore within the book it talks about animal cruelty, as well as issues such as health risks and global warming.

This book explains the different issues within the industry, looking into all the meat, fur and dairy campaigns that are common. it shows percentages and facts about the different sections and how these not only cause distressing times for the animals we are gaining the produce from, the health risks that this can have on us as humans.

Overall this book helped me gain further knowledge on the industries, as well as information on the reasoning behind vegetarianism.

Acetate Development

Monday 3rd April

Now that I had gathered opinions from those around me of the industries I have been focusing on; I decided to bring this into my work straight away by looking at the previous work I had produced by bringing the two ideas together. Firstly, I experimented with free machine embroidery, as I used the free foot to write the quotes onto the sheets of acetate. This idea allowed me to layer the images creating an image that could be faded or striking towards the viewer. As well as that, I explored using handwritten messages which were applied directly onto the acetate with permanent markers.

By doing this is showed work that linked to the garment I had assembled earlier with dyed PVA glue, as this was embroidered in the same way. However, exploring the hand-written typography, made me realise that this was just as effective and a much faster process. Therefore, this is something that I wanted to explore further, maybe by bringing this into a garment I will produce later on in the course.